Building your own wardrobe is one of those DIY projects that looks complicated at first, but becomes much more manageable once you break it down into smaller jobs.
Whether you need extra storage in a bedroom, want to make better use of an awkward alcove, or simply fancy creating something that fits your space perfectly, learning how to build your own wardrobe can be a rewarding project.
Unlike buying a ready-made wardrobe, building one yourself gives you control over the size, layout, materials and finish. You can create exactly the storage you need rather than trying to make a standard-sized unit work around your room.
For DIY enthusiasts, it is also a great project for developing practical woodworking and construction skills.
Why Build Your Own Wardrobe?
One of the biggest advantages of a DIY wardrobe is being able to make use of every available inch.
A standard freestanding wardrobe might leave awkward gaps at the sides or above it, while a built-in wardrobe can be designed around the exact dimensions of your room. This is particularly useful if you have sloping ceilings, chimney breasts or alcoves that make buying furniture difficult.
Building your own wardrobe can also work out cheaper than paying for a professionally fitted solution, particularly if you already own some of the tools needed for the job.
There is also something satisfying about opening a wardrobe that you have measured, built and finished yourself.
Plan Your Wardrobe Before You Start
Good planning will make the actual construction much easier.
Start by measuring the space where the wardrobe will go. Measure the width at several points, as walls and floors are not always perfectly straight. Check the height too, particularly if you are planning a wardrobe that reaches the ceiling.
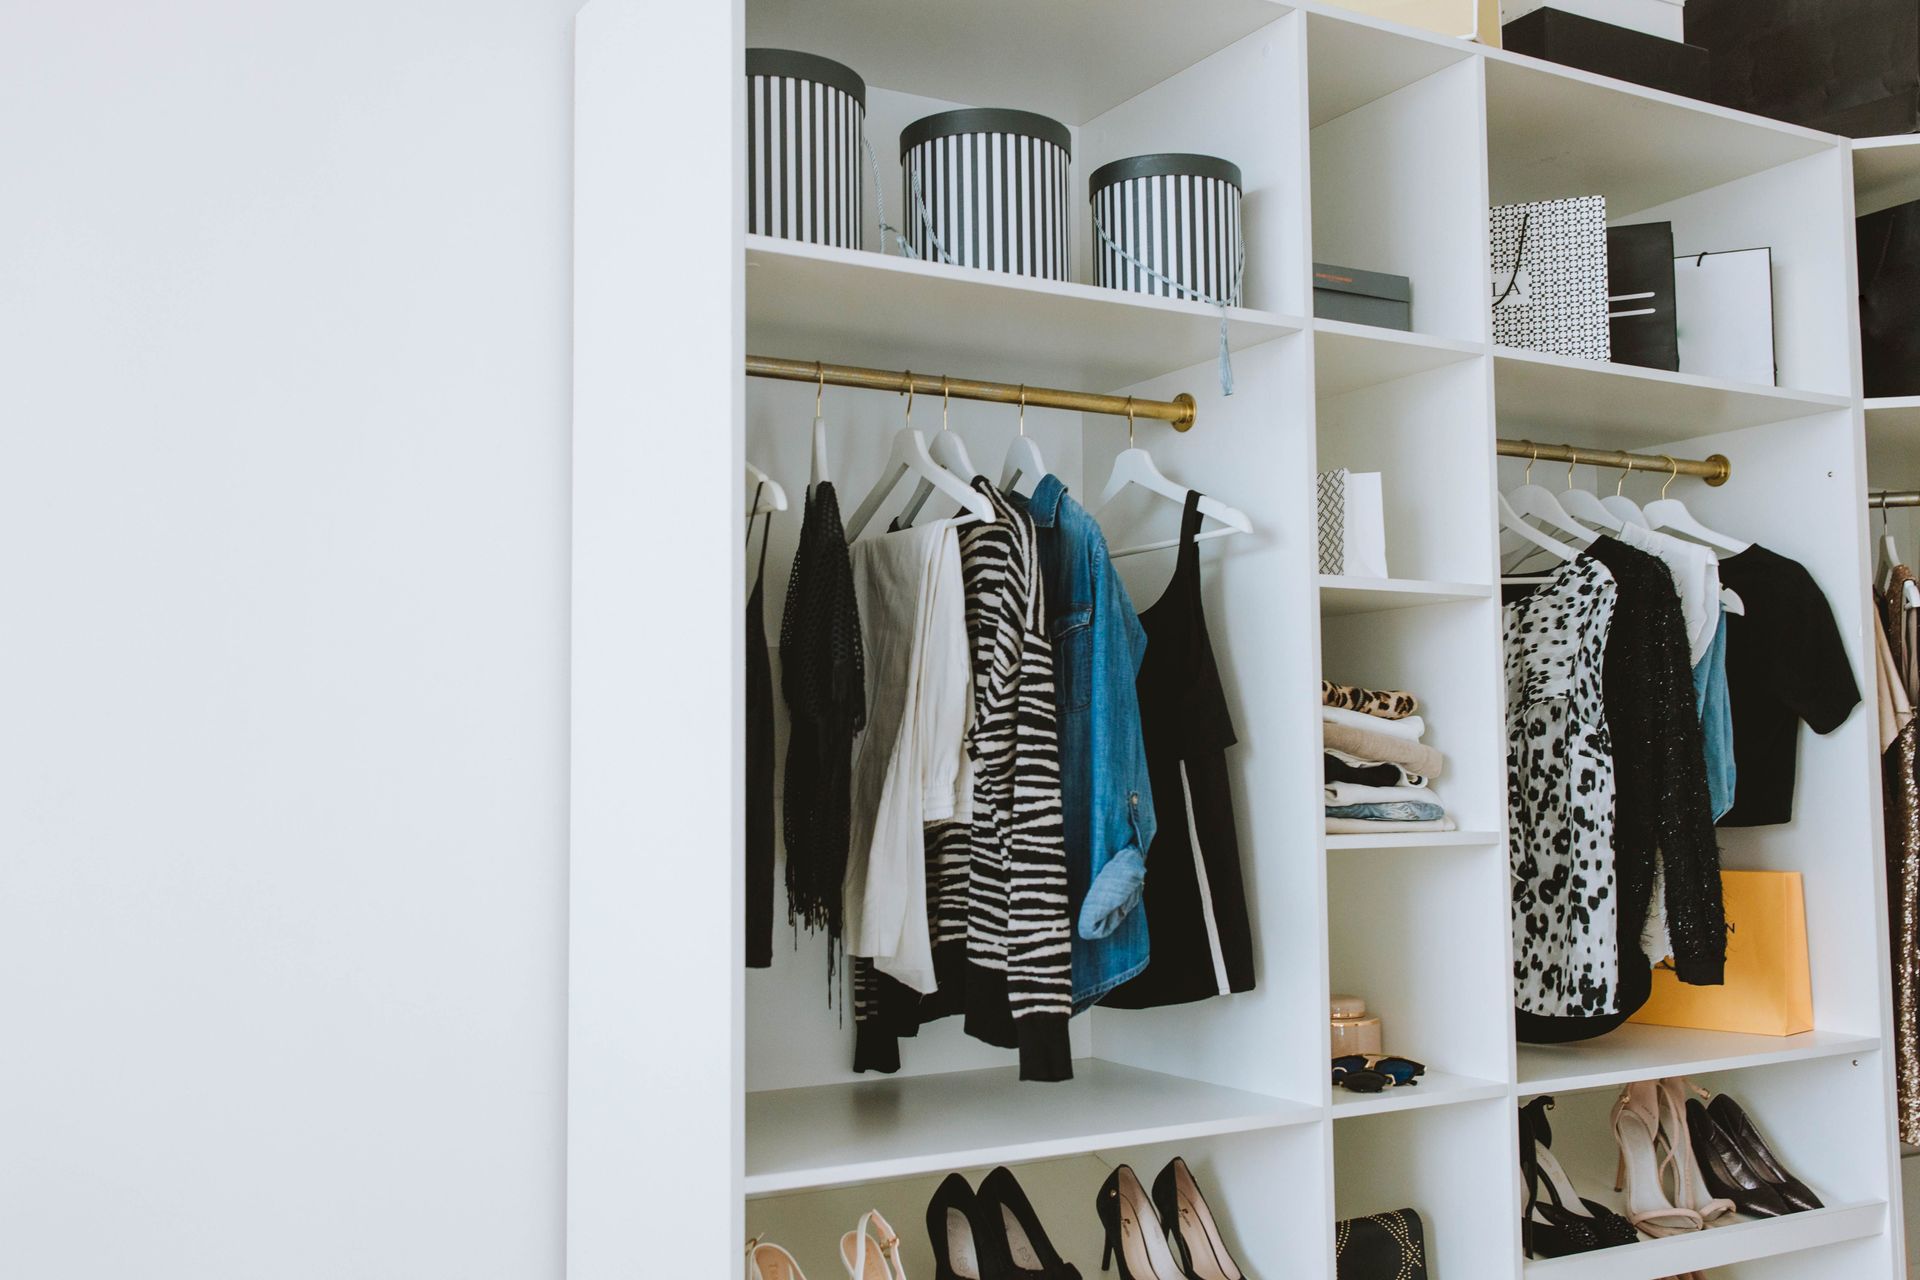
Think carefully about how you want the inside to work. Do you need a full-width hanging rail? Would two shorter rails give you more useful storage? You might also want shelves, drawers or a dedicated section for shoes.
Make a simple sketch showing the overall dimensions and internal layout. It does not need to be a professional drawing. The important thing is knowing what you are building before you start cutting materials.
Choose the Right Materials
For a typical DIY wardrobe, sheet materials such as MDF, plywood or melamine-faced boards can be suitable depending on the design and finish you want.
MDF is particularly popular because it is easy to cut and produces a smooth surface for painting. Plywood is strong and has a different appearance, while pre-finished boards can save time because they already have a decorative surface.
You will also need suitable fixings, hinges or door hardware, hanging rails and any handles or drawer runners required for your design.
Building the Wardrobe Frame
Once your measurements and materials are ready, you can start constructing the main frame.
If you are building a fitted wardrobe, it is important to create a solid and level structure. Floors and walls can have small imperfections, so don't assume that everything is perfectly square.
A spirit level is one of the most useful tools for this stage. Take your time getting the base and sides level before continuing.
Depending on the design, you may construct the wardrobe as a series of cabinets or build a larger framework that is fixed securely to the wall.
Don't Forget the Fixings
A wardrobe can become surprisingly heavy once it is filled with clothes, so secure construction is essential.
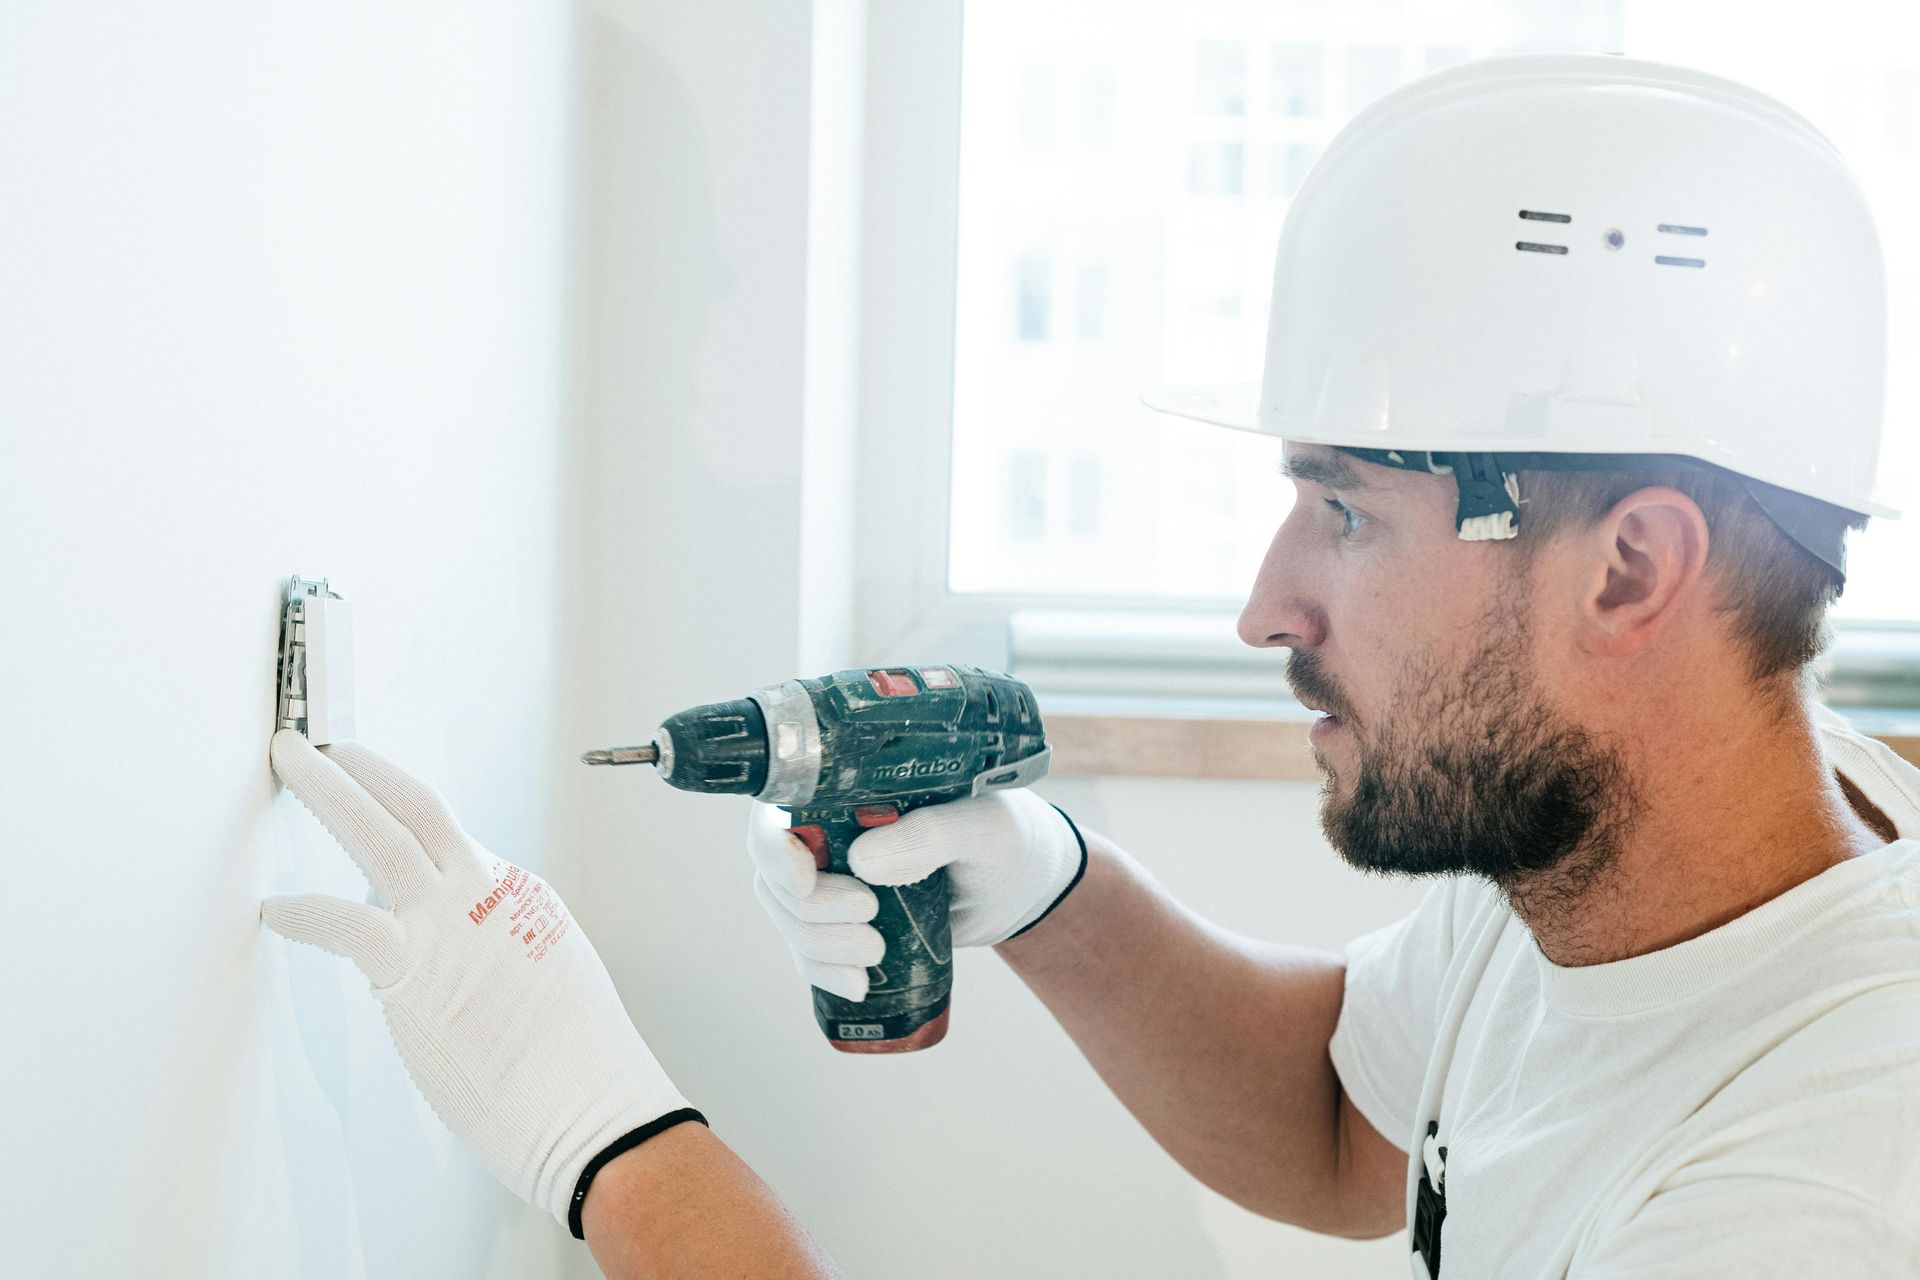
Use appropriate fixings for the type of wall you are working with, and make sure any wall-mounted sections are properly supported. If you are unsure what is behind a wall, check before drilling or fixing into it.
The structure should feel rigid before you move on to adding doors, shelves and internal storage.
Add Shelves and Hanging Space
With the main structure complete, you can start turning it into useful storage.
Hanging rails should be positioned at a comfortable height for the clothes you normally wear. If you have enough vertical space, consider using two levels of hanging rails for shirts, trousers and other shorter items.
Shelves can be used above the hanging area or in separate sections. Adjustable shelving is worth considering because your storage requirements may change over time.
If you are building your own wardrobe for a child's bedroom, remember that their clothing and storage needs will change as they grow.
Choosing and Fitting Wardrobe Doors
The doors can completely change the finished appearance of your wardrobe.
Hinged doors are a straightforward option and can be made from MDF, plywood or another suitable board. Sliding wardrobe doors can be useful where floor space is limited, although the track system requires accurate installation.
Before fitting doors, check that the wardrobe is square. Even a small error in the frame can make doors difficult to align properly.
Take your time when fitting hinges and adjust them carefully until the gaps around the doors are even.
Finishing Your DIY Wardrobe
Once construction is complete, the finishing work can make the difference between a project that looks homemade and one that looks professionally fitted.
If you are painting MDF, prepare the edges properly and use a suitable primer before applying your chosen paint. Light sanding between coats can help achieve a smoother finish.
You can also add handles, trim, decorative panels or other details to match the existing room.
Is Building Your Own Wardrobe Worth It?
For anyone comfortable with basic DIY, building your own wardrobe can be well worth the effort.
You get a storage solution designed specifically for your room, while also having complete control over its appearance and layout. More importantly, you can adapt the design to suit your needs instead of adapting your needs to an off-the-shelf wardrobe.
It may take longer than buying a flat-pack unit, but the finished result can make much better use of your available space.
Whether you're tackling a simple freestanding wardrobe or taking on a full built-in wardrobe project, careful measuring, sensible material choices and good preparation will give you the best chance of getting a result you are proud of.
At Constructionise, we believe the best DIY projects are the ones that are properly planned before the first piece of material is cut. Take your time, measure twice and build once — and you can create a wardrobe that works perfectly for your home!
More Construction Help